National Croissant Day is the perfect excuse to celebrate one of the most iconic pastries—and to show you that making croissants at home is more achievable than you think. With the right technique (and the right appliances), bakery-worthy croissants can come straight from your own kitchen.
In this blog, Chef Linda shares her exact homemade croissant recipe, insider lamination tips, and a full step-by-step YouTube tutorial to guide you through the process with confidence.
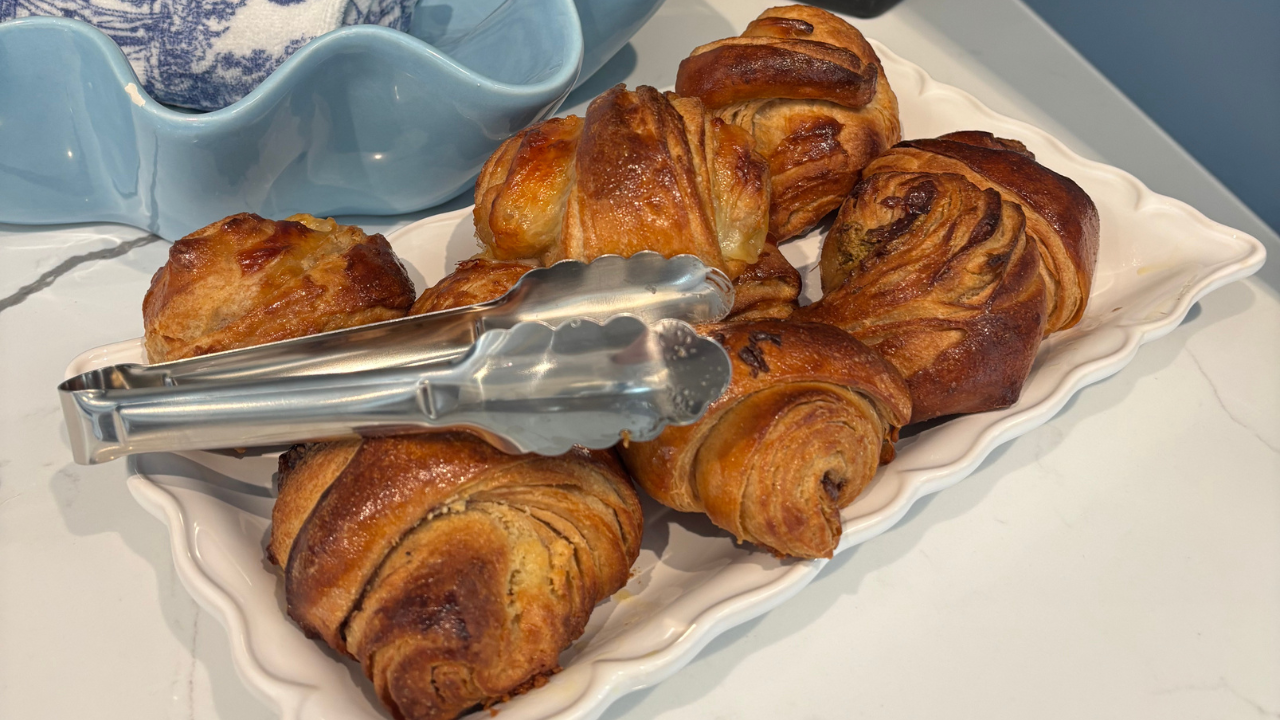
RECIPE
Yields: 5-6 croissants
Total Time: 2-3 days (mostly resting)
Ingredients:
1 ¼ cups whole milk
1 packet active dry yeast
1 ½ cups whole wheat flour
1 ½ cups all-purpose or bread flour
¼ cup sugar
2 tsp kosher salt
2 sticks unsalted butter
1 large egg for egg wash
Making the Dough & Butter:
1. In a small saucepan heat milk over medium heat until it reaches approximately 100° F. Whisk in the yeast and let sit for about 10 minutes, or until it starts to get foamy on the top.
2. In a medium bowl, whisk together the flour, sugar and salt.
3. Using a spatula stir in the bloomed yeast mixture. Continue to mix until a shaggy dough forms and everything is evenly incorporated.
4. Transfer the dough to a clean work surface. Knead the dough until smooth, using as little additional flour as possible. Gently shape the dough into a ball, place back in the medium bowl, cover with plastic wrap and refrigerate for 10 minutes.
5. Once rested, perform the doughs first turn. Grab an edge of the dough, gently pull and stretch it away from the center and then fold it back over itself to the opposite edge. Gently pat the dough down with the palm of your hand. Repeat this process all the way around the perimeter of the dough, until you’ve stretched all the sides. Flip
the dough over and place it seam side down back in the bowl, cover with plastic wrap and place back in the fridge to rest for 10 more minutes.
6. After 10 minutes, repeat the process of “turning” one more time (for a total of two turns); being careful not to tear the dough when stretching it. Cover once again with plastic wrap and rest in the fridge for 25 minutes.
7. While the dough is resting, begin working on the butter. Evenly slice your butter into approximately ½” slices. Place a large piece of parchment paper on your work surface and lay the butter slices on the paper in roughly a 7”x7” square. It’s ok if you cut your butter slices into small pieces, and stack some on top of each other to create this shape if the result is an even thickness. Fold the paper up and over the butter so that it completely covers the butter. Fold the edges to create a 7”x7” square. Flip the butter over so the seam side of the paper is facing down. Using a rolling pin, gently pound out the butter so it spreads out to the edges evenly and is an even thickness. Don’t pound too hard or the paper will burst. Place in the fridge to chill for 15-25 minutes.
8. While the butter is chilling, place the dough on a lightly floured work surface. Using a rolling pin, gently roll the dough into a small square, approximately 8”x8” - just evening out the dough so it is uniform in thickness.
9. Rotate the square so that, as you face it, it looks like a baseball diamond. Use the sides of your palm to mark a 6” square in the middle of the diamond, creating triangular flaps at the 4 corners.
10. As best you can, roll out each of the triangular flaps into a squarish shape (about 3” squares). You will have to tug a bit at the edges to pull the flap into a square as you roll. When you are done, the entire piece of dough will be about 12” wide and tall, with a 6” square lump in the middle and one squarish flap off each side of that lump. The 6” square lump will be about 1” thick, and the 4 squarish flaps will be about ¼” thick.
11. Remove the butter from the fridge. Place your butter in the center of the dough so that the edges align with the flaps. Gently stretch each flap over the butter to completely encase the butter in the dough. Pinch edges shut and flip over. Allow dough to rest for a few minutes so that the butter softens slightly.
Rolling & Folding:
1. Lightly flour your rolling pin and the top of the dough. Using the rolling pin, gently press down on the dough, move your rolling pin down about 1” and lightly press down again. Continue to press the dough this way along the entire length of the dough and then rotate it one turn and do this again. Continue to do this until you have turned the dough one full turn and pressed at each turn, this will help encase the butter and spread it out to the edges of the dough.
2. Using gentle, even pressure, roll the dough into an 18” rectangle. You only need to roll the dough in one direction; the width will stay the same.
3. Turn the dough, if necessary, so the short end is parallel to you. Pick up the bottom, short end of the dough and fold it ¾ of the way up the rectangle. Next, fold the top
part of the dough a ¼ of the way down so that the two ends meet evenly but do not overlap. Lightly pat down the dough so the two ends are in an even layer and adhere to the bottom dough. Once again, pick up the bottom part of the dough and fold it over itself, so it meets the top of the dough, making an envelope shape.
4. Turn the dough so the short end (where you see the folds) is parallel to you. Using your rolling pin, lightly tap on the dough every inch or so, to adhere the layers. Do not press down on the dough! Wrap in plastic wrap and rest in the fridge for ½ hour.
5. After ½ hour, unwrap the dough and place it on a lightly floured work surface. Place the shorter end of the dough (the side where you can see the folds) parallel to you, this will ensure you roll the dough in the opposite direction as before. Using your rolling pin, gently tap the dough along the entire surface and then, using even pressure, roll the dough into an 18” long rectangle.
6. Pick up the top, short end of the dough and fold it ⅓ of the way down the rectangle, then fold the bottom part up and over the entire dough to meet the topmost edge; you will end up with a square shape. Wrap in plastic wrap and place in the fridge for ½ hour.
Shaping:
1. Lightly flour your work surface and unwrap the chilled dough. Roll the dough until it is 10” wide and ¼” thick (the length doesn’t need to be exact as long as you roll the dough to the proper width and thickness).
2. To shape the croissants, turn the dough so the 10” side is perpendicular to you. Lay a ruler along the bottom, longer edge. Using a pizza cutter or knife, make marks along the bottom of the dough at 4.5” intervals. Find the middle point between the first two marks and then move your knife to the top edge of the dough and make a mark there. Repeat this for the rest of the dough.
3. To cut the croissant, take a long sharp knife and place the tip at the first mark on the top edge and then angle your knife, without cutting yet, so that the bottom of the knife meets up with the first bottom mark. Once you connect the two marks, cut the dough, it will be in the shape of a triangle. Continue to cut the remaining croissants in the same way, you will have about 5-6 croissants total.
4. Take one triangle of dough and gently use your fingers to elongate the triangle by about 1”. If the dough resists you doing this then stop. Starting at the wider edge, roll the dough tightly, without squishing the layers, until you reach the point of
1. the triangle. Gently press the top of the croissant to adhere the tip to the dough. Place on a parchment lined, rimmed sheet tray, tail side down, and repeat this process with the remaining croissants.
5. Whisk the egg in a small bowl and then brush the tops of the croissants with the egg wash. Reserve the remaining egg wash for later.
6. Cover the sheet tray with another inverted sheet tray. Place in the refrigerator overnight.
7. The next morning, remove the croissants from the refrigerator and remove the top sheet tray. Lightly brush again with egg wash. Keep croissants at room temperature for at least 2 hours. The croissants are done proofing when they are puffy, almost
doubled in size, the layers are splitting slightly, and they jiggle when the pan is gently moved back and forth.
Baking - Day 2 or 3
1. Very gently brush the tops of the croissants again with egg wash.
2. For a convection oven: Preheat oven to 390° F. Bake the croissants for 6 minutes and then reduce the oven temperature to 330° F and continue to bake for 10-15 more minutes. The croissants are done when they are golden brown and puffy.
3. For a conventional oven: Preheat oven to 400° F. Bake the croissants for 15-20 minutes, until golden brown and puffy.
Ready to try it yourself? Follow along with our full YouTube tutorial and see how precision baking—and the right oven—can make all the difference.